EV Charger Installation in the Bay Area: Costs, Permits, and What to Expect
From load calculations to permit requirements to PG&E rebates — everything Bay Area EV owners need to know about installing a home charger the right way.
Level 1 vs Level 2 vs Level 3: What's the Difference?
Level 1 chargers plug into a standard 120-volt household outlet and deliver about 3–5 miles of range per hour. That's fine for plug-in hybrids or very short commutes, but too slow for most EV owners who need a full charge overnight.
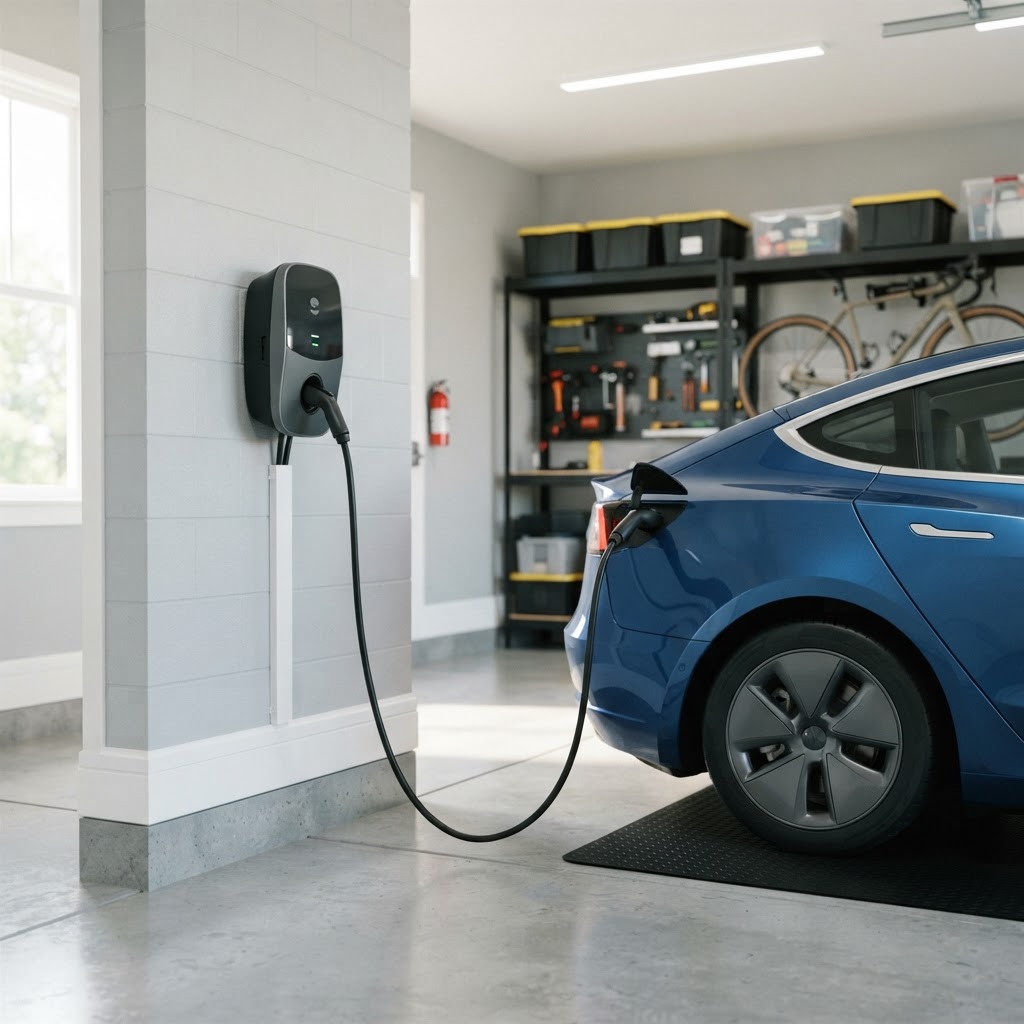
Level 2 chargers (also called EVSE — Electric Vehicle Supply Equipment) use a dedicated 240-volt circuit, similar to a dryer or oven outlet. They deliver 12–60 miles of range per hour depending on the amperage, which is enough to fully charge most EVs overnight. This is what the vast majority of Bay Area EV owners install at home.
Level 3 (DC Fast Charging) is commercial-grade charging found at public stations. It's not practical or affordable for home installation.
Choosing the Right Level 2 Charger
The most popular home chargers in the Bay Area include:
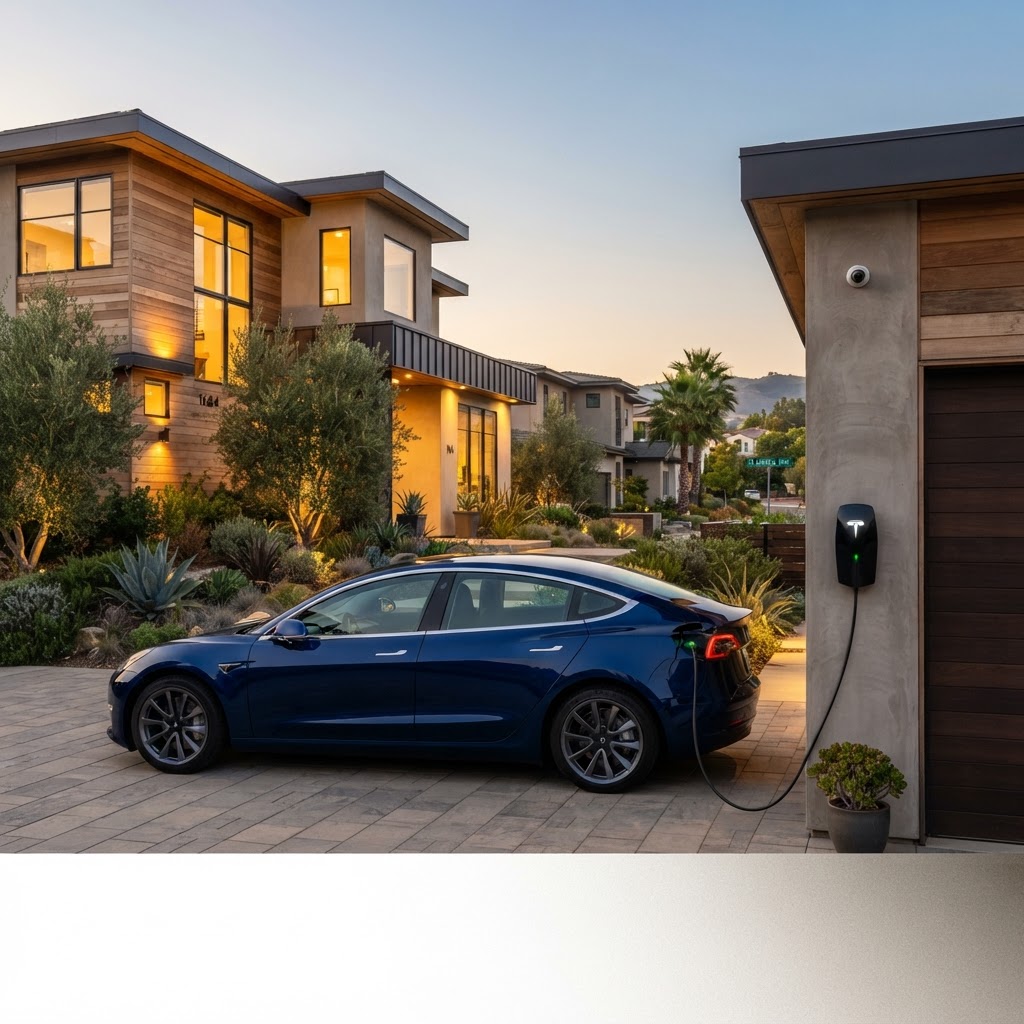
- Tesla Wall Connector — 48–80 amps, Wi-Fi enabled, works with all Tesla vehicles
- ChargePoint Home Flex — 16–50 amps, J1772 connector, works with all non-Tesla EVs (Teslas need an adapter)
- JuiceBox — 32–48 amps, J1772, app-connected
- Grizzl-E — 16–40 amps, rugged outdoor-rated
The key decision is amperage. Higher amps = faster charging, but requires a larger circuit. A 48-amp charger needs a 60-amp circuit; a 32-amp charger needs a 40-amp circuit.
The Load Calculation: Why It Matters
Before installing an EV charger, your electrician must perform a load calculation per NEC 220 to ensure your electrical panel has enough capacity. This calculation adds up all the existing loads in your home (HVAC, water heater, dryer, range, general lighting) and checks whether adding a 40, 50, or 60-amp EV circuit stays within your service capacity.
If your panel is a 100-amp service and your home already has a heat pump, electric water heater, and electric range, there may not be enough capacity for a high-amperage EV charger. In that case, you have three options:
- Install a lower-amperage charger (16–24 amps)
- Install a load management system that shares power between the charger and another circuit
- Upgrade your panel to 200 amps first
Bay Area Permit Requirements
EV charger installations in the Bay Area require an electrical permit in virtually all jurisdictions. The work must be performed by a licensed electrician and inspected by the local building department.
Some cities have streamlined permits for EV chargers. For example, San Francisco offers an expedited EV charger permit process. Oakland and most other Bay Area cities treat it as a standard electrical permit.
What Does EV Charger Installation Cost?
In the Bay Area, a typical Level 2 EV charger installation costs between $800 and $2,500 including labor, materials, and permit. The range depends on:
- Distance from the panel to the charger location — longer runs require more conduit and wire
- Wall type — drywall vs. plaster, interior vs. exterior
- Panel capacity — if you need a panel upgrade first, add $3,500–$7,500
- Charger hardware — the charger itself runs $400–$700
- Trenching — if the charger is far from the panel or in a detached garage, trenching may be needed
Rebates and Incentives
Bay Area EV owners may qualify for several incentive programs:
- PG&E EV2 Rate Plan — a time-of-use rate that makes charging overnight much cheaper (often 50%+ less than standard rates)
- Federal tax credit — 30% of the cost of charger hardware and installation, up to $1,000, for residential installations in eligible areas
- California Clean Fuel Reward — up to $750 for eligible EV purchases
- Local utility rebates — some Bay Area cities and utilities offer additional rebates for EV charger installation
Check with your local utility and the PG&E EV programs page for current rebate amounts, as these programs change frequently.
The Installation Process
- Site assessment. Your electrician evaluates the panel, the charger location, and the wire run.
- Load calculation. Confirms your panel has capacity for the charger.
- Permit pulled. Electrical permit obtained from the local jurisdiction.
- Installation. Dedicated circuit installed, charger mounted and connected. Typically 2–4 hours of work.
- Inspection. Local building inspector signs off.
- Activation. Charger is tested and connected to Wi-Fi (if applicable).
Frequently Asked Questions
Can I use my dryer outlet for my EV?
Technically yes, with a splitter, but it's not recommended as a permanent solution. A dedicated circuit is safer and allows you to charge at higher amperage.
Can I install an EV charger outdoors?
Yes. Many chargers are NEMA 4 or IP54 rated for outdoor use. The circuit needs to be GFCI-protected per code.
Do I need a permit for a plug-in charger?
If you're just plugging into an existing 240V outlet, no permit is needed for the plug itself. But if you're installing a new circuit or hardwiring the charger, a permit is required.
How fast will my car charge?
A 48-amp Level 2 charger adds about 30–44 miles of range per hour for most EVs. A 32-amp charger adds about 20–30 miles per hour.
Russell Electric is a licensed C-10 electrical contractor (CA License #1106773) installing EV chargers throughout the Bay Area. Get a free quote or call (510) 303-2473.
Need an Electrician in the Bay Area?
Russell Electric is a licensed C-10 contractor serving the entire Bay Area. Free quotes, 48-hour bid turnaround for GCs.
Get a Free Quote →